In any home, heat and moisture play a role during construction and long after. LP® TechShield® Radiant Barrier Sheathing, the #1 original radiant barrier in the industry, is equipped with LP® VaporVents™ Technology that allows trapped moisture to escape during and after construction while the aluminum-based overlay blocks up to 97% of radiant heat in roof panels from emitting into the attic.
Since LP TechShield panels have already been installed in over 2 million homes in the United States and continue to be a leader in radiant barrier sheathing, a refresh on how to install sheathing can help maximize the product’s performance and keep you from an installation error that can impact your warranty.
Let’s take a look at a list of quick tips to keep top-of-mind for radiant barrier sheathing installation.
Radiant Barrier Sheathing Installation Do’s and Don’ts
Do
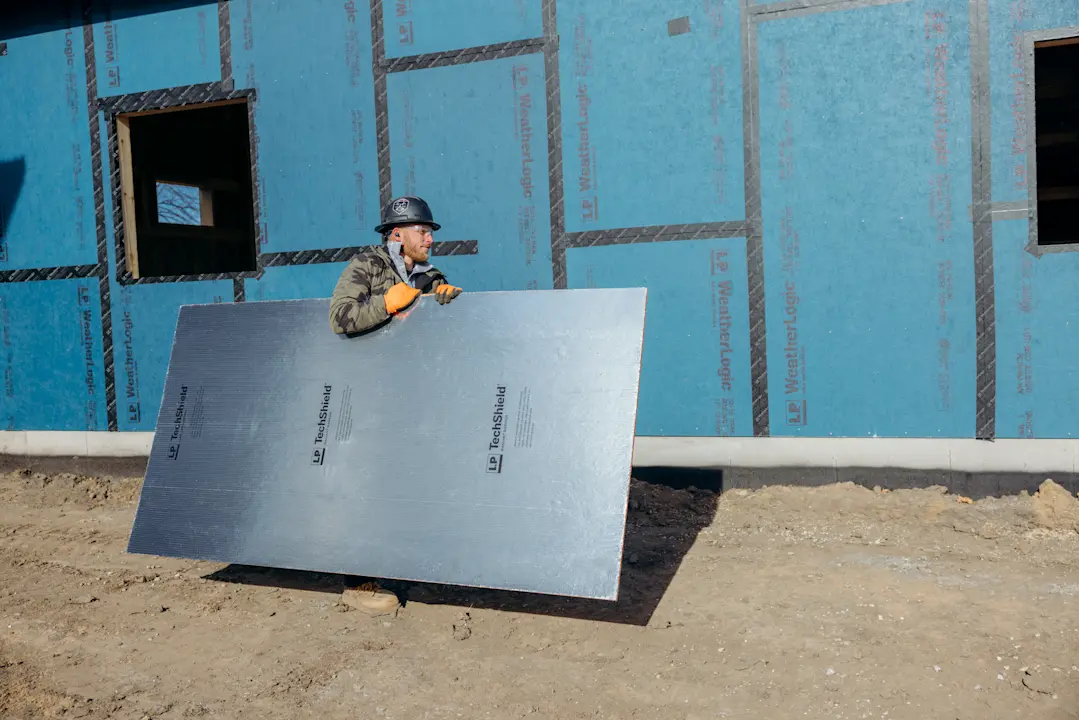
Store panels in a clean, dry space off the ground
Install with the aluminum-based overlay side down
Install with the long dimension across supports and with the panel continuous over two or more spans
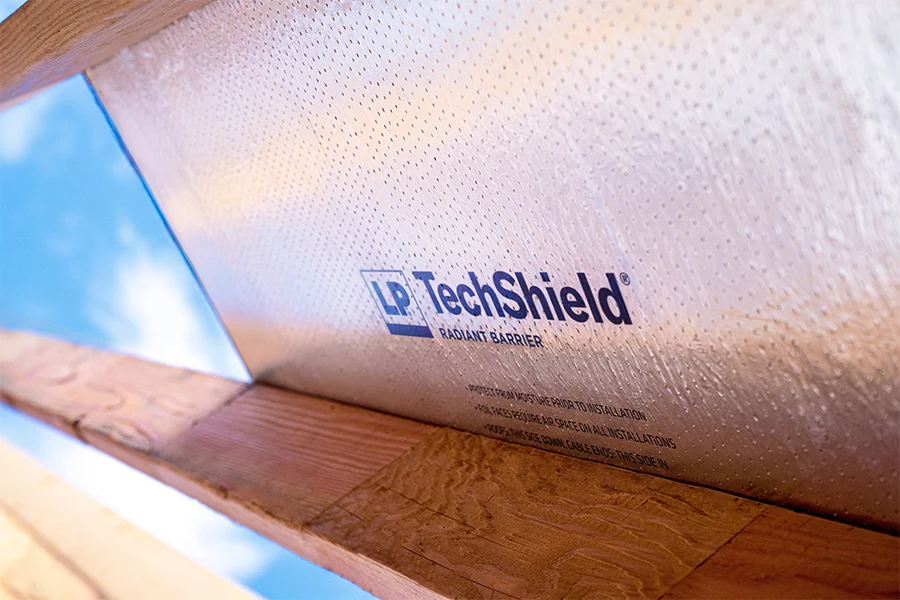
Prior to roofing, cover LP TechShield Radiant Barrier Sheathing as soon as it’s installed with roofing underlayment to protect against excessive moisture prior to roofing
Always leave a minimum 3/4" air gap under the radiant barrier surface.
Don’t
Expose aluminum-based overlay side to the elements
Drop on corners or crush edges
Damage the radiant barrier surface
Do NOT install insulation or any other material directly against the radiant barrier surface of the panel.
Find complete installation instructions here.
How To Install Radiant Barrier Sheathing Properly
Now that you have these crucial do’s and don’ts top-of-mind, let’s dive into more detailed installation instructions for how to install radiant barrier sheathing.
Step 1: Prepare Your Panels
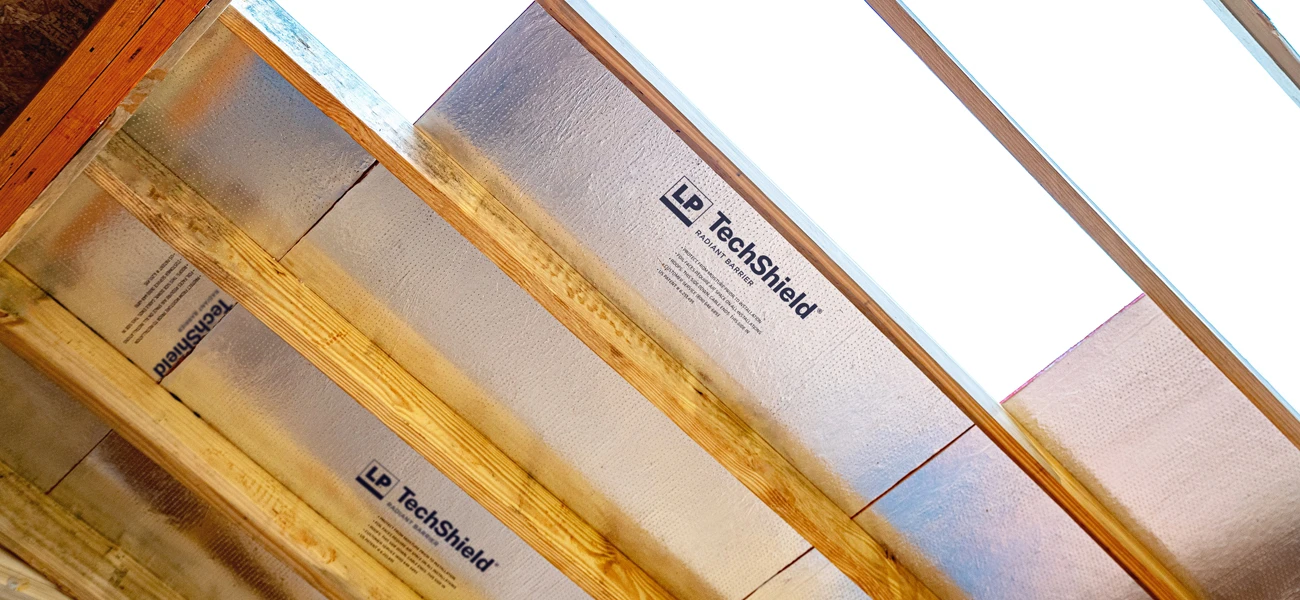
One of the most common mistakes when it comes to radiant barrier sheathing installation is installing the panels with the incorrect side facing down. Radiant barrier sheathing panels have two sides: a aluminum-based overlay surface and the skid-resistant OSB surface.
LP TechShield panels should always be installed with the radiant barrier overlay side down and the skid-resistant side facing up. Be sure to wear skid-resistant shoes during roof sheathing installation in any sloped-roof application.
Step 2: Space and Arrange Panels
Space all panel edges at a 1/8-inch minimum. Install with the long dimension across supports and with the panel continuous over two or more spans. End joints should meet over framing.
Step 3: Attach Panels to Framing
In the absence of project specifications, nail panels 6 inches on center along supported ends and edges and 12 inches on center at intermediate supports. Fasten panels 3/8-inch from panel edges. Use 8d common nails.
Step 4: Cover Roof Sheathing
Cover LP TechShield Radiant Barrier Sheathing as soon as possible with roofing underlayment to protect against excessive moisture prior to roofing.
Once the sheathing is covered, your LP TechShield installation is complete!
Common Mistakes When Installing Radiant Barrier Sheathing
Installing the radiant barrier overlay side up
Leaving the surface exposed to the elements
Not properly spacing the panel ends and edges
With these do’s, don’ts and watchouts on hand, you’re ready to start installation. Find detailed step-by-step installation instructions here.