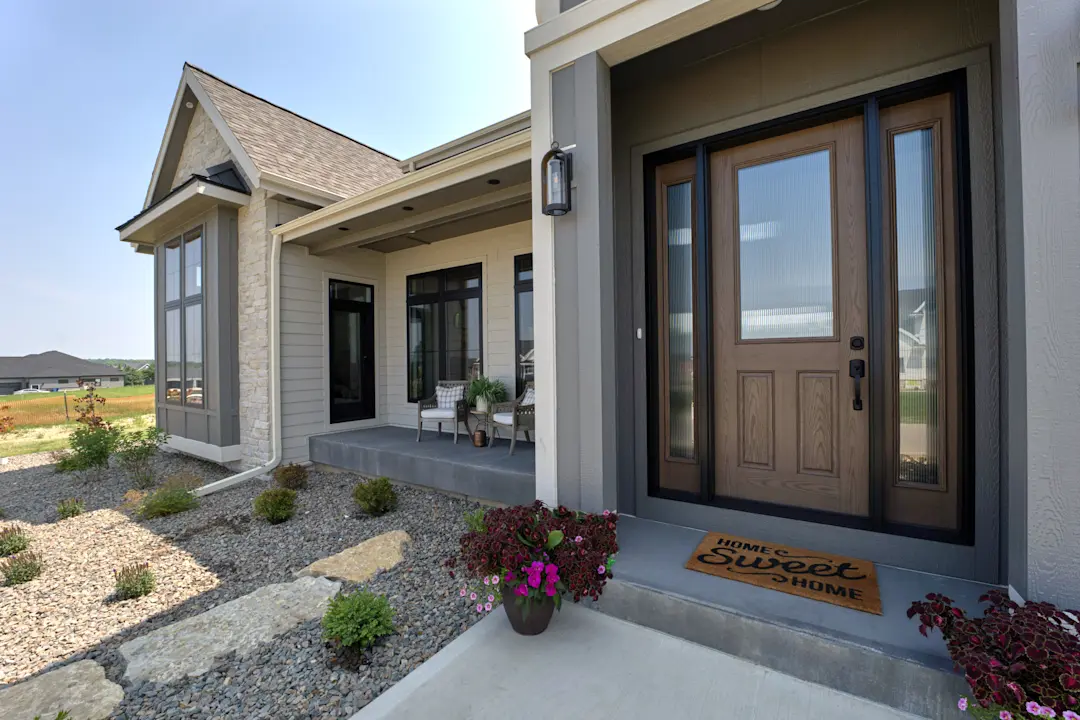
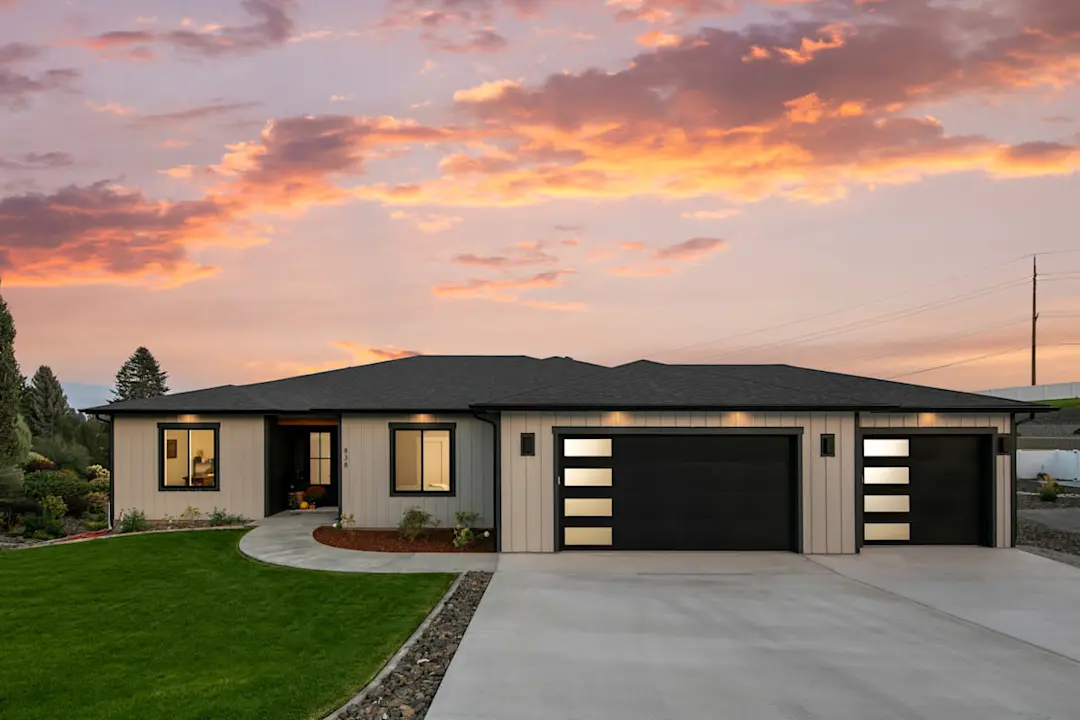
LP® SmartSide® Trim & Siding isn’t designed only to be a durable, beautiful siding option for homes—it can provide the same benefits for a backyard shed. Installing siding on a shed is the last step in the shed building process, but it adds more than a decorative layer. When you use LP SmartSide products, your shed siding installation will provide both defense against the elements and a clean, impressive finish.
With the help of Isaac Ojeda, Construction Service Associate at LP, let’s walk through how to install panel siding on a shed properly in order for the product to remain eligible for the limited LP SmartSide warranty.
Before You Begin Installing Siding on a Shed
Ojeda points out that there are two main ways to prepare for a shed build and to help ensure your installation does not void the limited LP SmartSide warranty.
First, “always make sure to check your local building codes,” he says. These will help you align your build with what is permitted in your area. These vary among locations and are updated periodically, so refreshing your understanding of your local codes on a routine basis is recommended.
Site preparation is also critical. “If you intend on building the shed on a concrete foundation, make sure the slab is high enough to maintain the minimum 6-inch clearance from the bottom edge of the siding to the finish grade,” Ojeda adds. LP recommends preparing with a level layer of gravel with appropriate dimensions around the shed if it will be placed on the ground instead of on a concrete foundation or piers.
Tools and Materials for Installing Siding on a Shed

To install siding on a shed, “you’ll need essentially the same tools you would use to install LP SmartSide siding on a residential project,” Ojeda says. It takes only standard woodworking tools to achieve a successful installation:
Circular saw (or miter saw)
Nail gun
Fasteners (minimum 0.113-inch shank diameter hot-dip galvanized box-style nails; minimum 0.092-inch smooth shank diameter nails may be substituted depending on wind pressure, speed and exposure category limitations in APA Product Report PR-N124 or ICC-ES Evaluation Report ESR-1301)
Primer
Sealant
Paint
It’s also important to plan ahead with your clients to ensure your build will meet their expectations. For example, many homeowners are using sheds for offices, backyard retreats and other living spaces. “Some pre-planning is necessary if customers want to insulate the walls,” Ojeda says.
These sheds may involve enclosing the walls and covering the framing, which dictates the use of a WRB and deciding which panel siding is best. When discussing ideas, use the Shed Size Estimator and Shed Visualizer to help fuel these conversations.
Steps to Installing Siding on a Shed
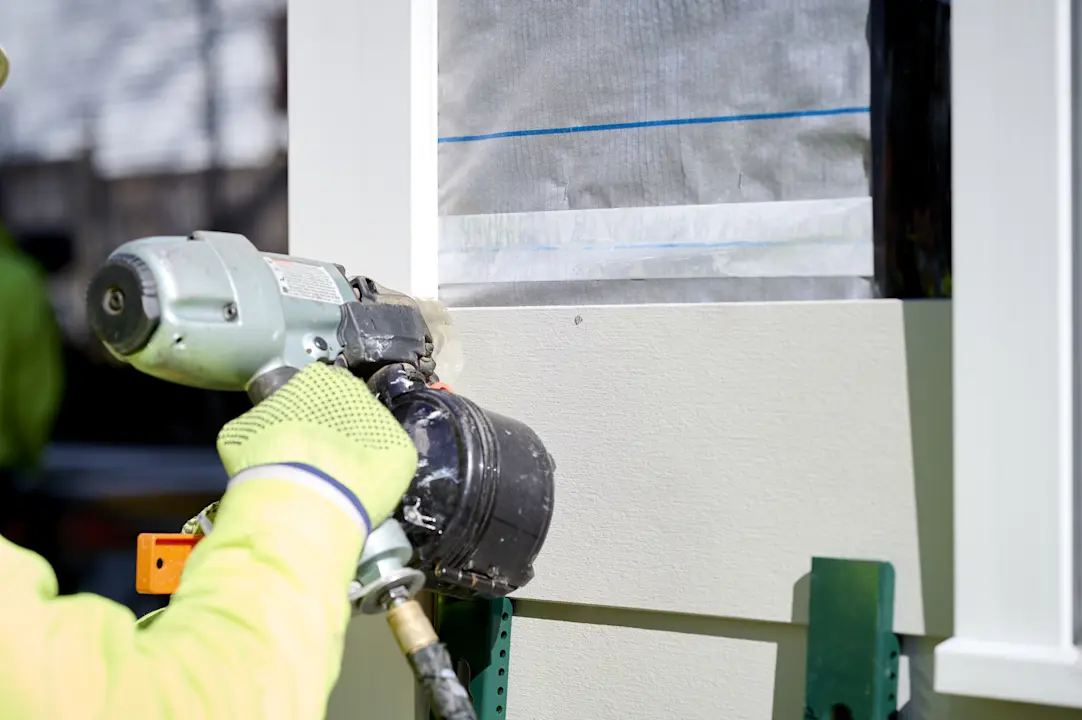
To complete your shed siding installation, follow these steps and be sure to consult the complete LP SmartSide siding installation instructions for complete details. When you follow the manufacturer’s installation instructions, you can keep your limited LP SmartSide warranty intact.
Step 1: When making cuts to the panel siding to fit your shed project, be sure to seal all field cuts made to each panel.
Step 2: Allow for a 6-inch ground clearance. If installing a shed on a concrete foundation, install non-corrosive metal flashing at the base of the panels to align with the requirement that the siding not come in contact with concrete.
Step 3: Install the first panel with the lower shiplap first so the upper shiplap on the next panel can be placed on top of it, instead of completing this process in reverse. “You also do not need to caulk the shiplap joint,” Ojeda adds.
Step 4: Use the self-aligning bead on the panels to install with accurate gaps that allow for expansion.
Step 5: To learn how to attach siding to a shed, follow nailing requirements in LP’s approved siding installation instructions. For panel siding, nail 6 inches maximum around the perimeter of each panel and maximum 12 inches in the field of the panel.
Step 6: Install trim on top of panel siding according to LP’s installation instructions around windows and doors.
Step 7: Install soffit and fascia with the typical requirements for nailing, spacing/gapping and caulking.
Advanced Durability for Sheds
When installed correctly, LP SmartSide panel siding can bring a beautiful, durable look to all your backyard shed projects, giving happy clients—and great reviews. It'll also be backed by the industry-leading limited LP SmartSide warranty when installation instructions are followed, so you can build with peace of mind.
Check out our siding and trim product page to explore our variety of timeless, durable LP SmartSide offerings.